The Telligent Event Calendar is a group-oriented application for Telligent Community 9.0 that adds group- or individual event calendaring with many powerful features - such as:
- Calendar addition, modification, or deletion
- Event addition, modification, or deletion
- Integrated activity stream reporting of all calendar and event activity
- Event notification
- Event export to other applications
- Rich registration features
- Location geocoding
- Search enablement for events and calendars
In release 9.0:
- Event registration has been updated
[toc]
For group owners
The following actions are available to a group owner.
Telligent Event Calendar options
Add a calendar
- On the Calendar tab, click Add calendar.
- Enter the Calendar Name and Calendar Description.
- Click Save Calendar. From here there are options to edit the calendar, add a new event, email subscribe to the calendar, delete the calendar, and receive an RSS feed from the calendar.
Change a calendar's name and description
- On the Calendar tab, click Edit this calendar. The calender add/edit page appears.
- As desired, change the Calendar name or Calendar description fields.
Delete a calendar
On the Calendar tab, click Delete this calendar.
Customize the calendar application for a group
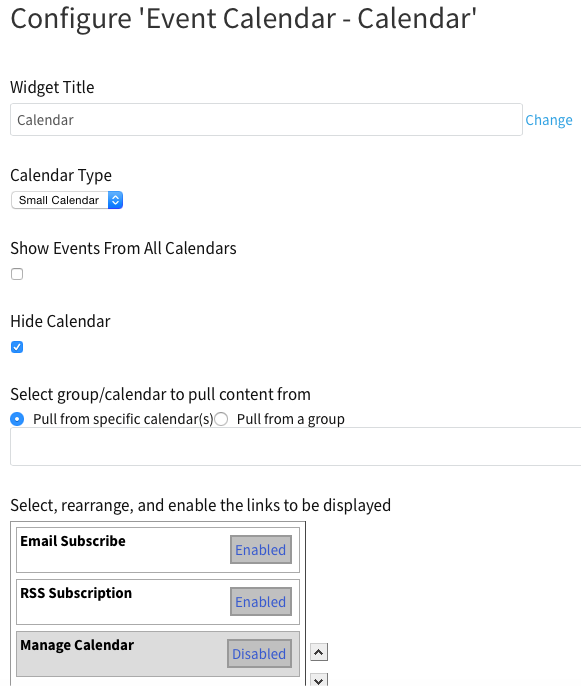
- Click Edit Page and edit the Event Calendar - Calendar widget.

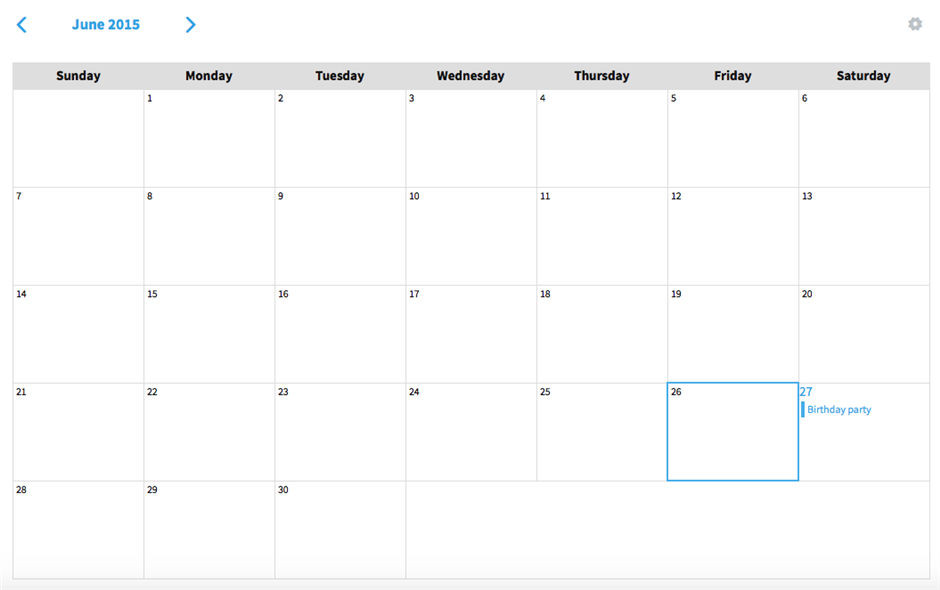
- Calendar type:
- Large calendar:
- Displays the full-size calendar.
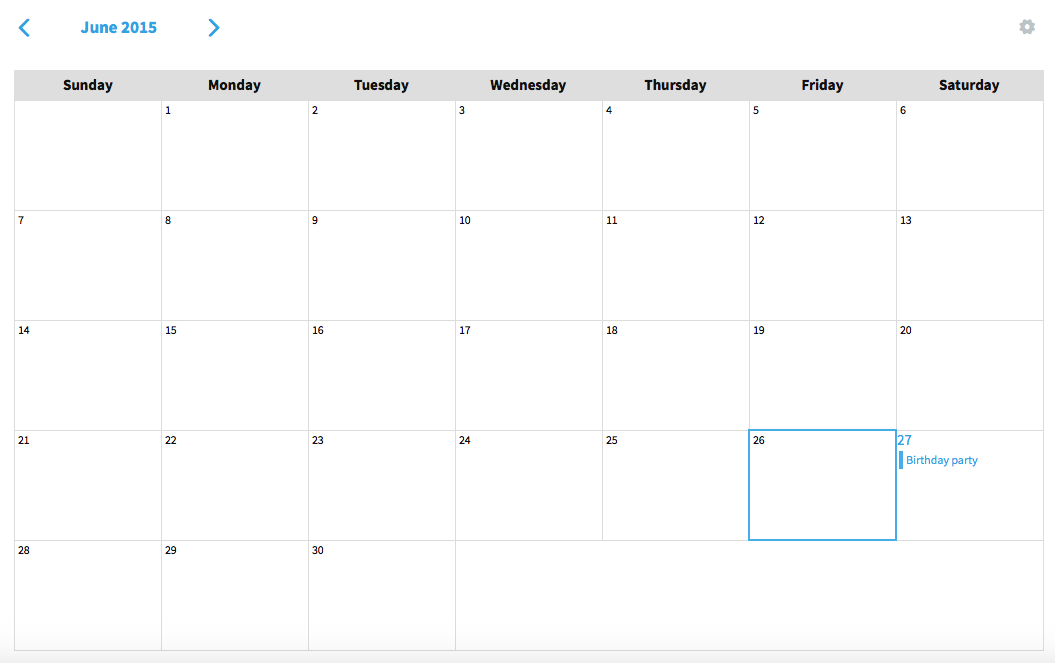
- Small calendar:
- Displays a smaller version of the calendar.
- Large calendar:
- Show events from all calendars:
- When enabled, this will ignore the current group and aggregate all events into one list.
- Hide calendar:
- Hides the calendar.
- Select group/calendar to pull content from:
- Pull from specific calendar(s):
- This will return events only for the selected calendar.
- Pull from a group:
- Returns events for a specific group and may also include sub-groups.
- Pull from specific calendar(s):
- Select, rearrange, and enable the links to be displayed:
- The "More" menu options may be rearrange and disabled or enabled to the group's specific needs.
- Click Save.
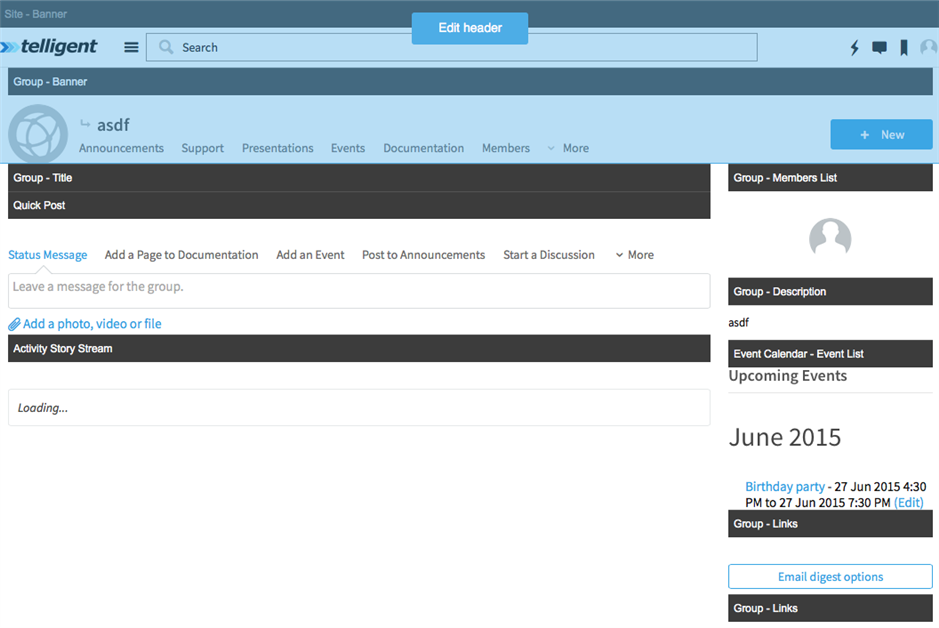
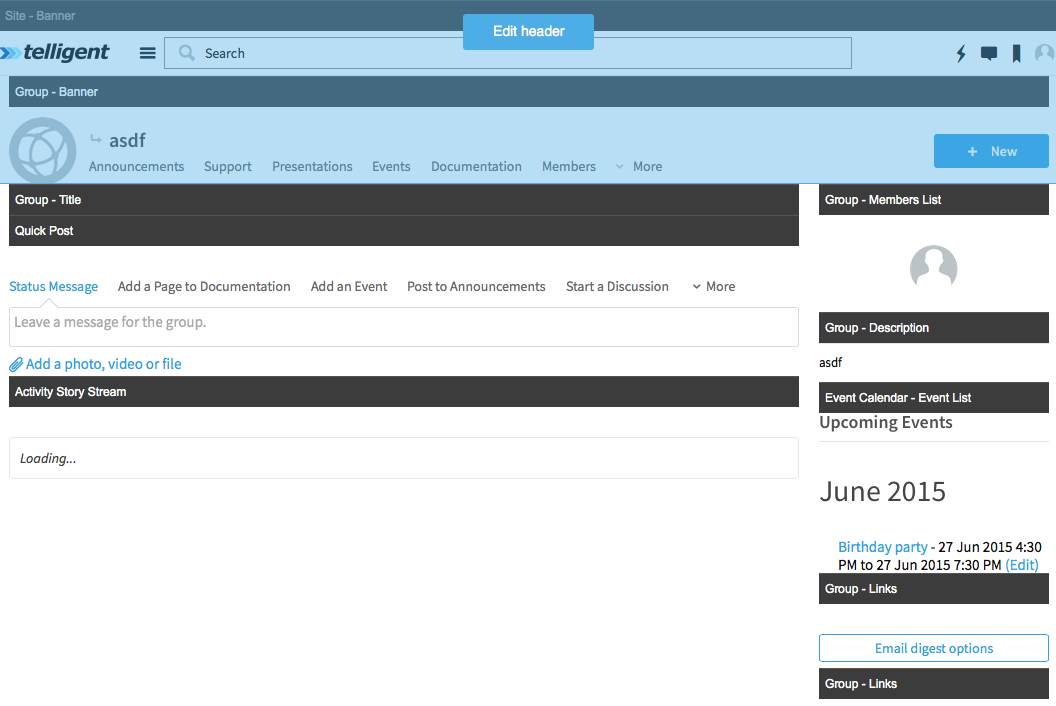
Add a calendar or event list to a group home page
When pulling from the group events for the group, the list will be an aggregate of all events for the group, filtered by the accessing user's permissions.
- Navigate to the group home page.
- Mouse over Management.
- Click Manage group theme. The Manage group theme panel appears.
- Click Edit this page. The Edit this page panel appears, displaying the Widgets tab.
- Search for the desired widget in the "Find a widget" field.
- Add the desired widget to the page. (For example, to add an event list, choose Event Calendar - Events List.)
- Click Save and publish. There are also draft and preview options, as discussed in Change pages via edit page mode.
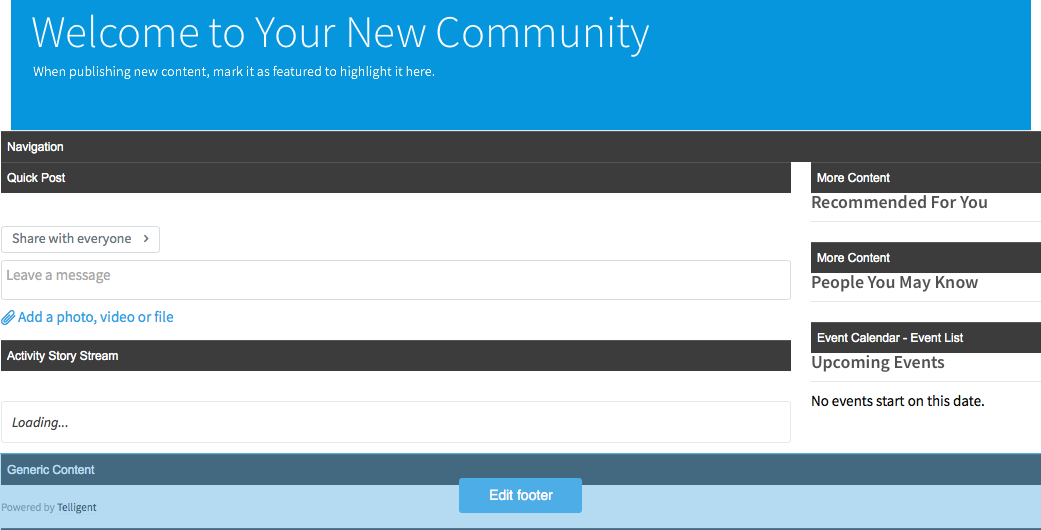
Add a calendar or event list to the site home page
When pulling from the site events for the site, the list will be an aggregate of all events for the site, filtered by the accessing user's permissions.
- Navigate to the site home page (or profile page).
- Mouse over Management.
- Click Manage site theme. The Manage site theme panel appears.
- Click Edit this page. The Edit this page panel appears, displaying the Widgets tab.
- Search for the desired widget in the "Find a widget" field.
- Add the desired widget to the page. (For example, to add an event list, choose Calendar - Events List.)

- Click Save and publish. There are also draft and preview options, as discussed in Change pages via edit page mode.
Events
-
On the Calendar tab, click New. The Event Calendar - Add/Edit event page appears.

-
Enter the following event information:
- Title
- Get map check box: If this check box is selected after entering the location of the event, Calendar will pull a Google map of the location.
- Website: Enter a URL for the event here if desired.
- Start: Select the event start date on the clickable calendar or type it and type the start time in the field.
- End: Select the event end date on the clickable calendar or type it and type the start time in the field. If an end date is not specified, the event will default to one hour long.
- Description: Enter the description using the rich text editor that is used throughout Telligent Community 9.0.
- Registrations (not shown in the screen capture): Select from the following options -
- No registration required: There is no registration, invitation, or confirmation. If the event is open registration, a confirmation is automatically displayed. The user is automatically sent an email confirmation as well. When the user views the event, he/she is now shown Update Registration or Cancel Registration buttons.
- Registration (RSVP): Users navigate to the event and register for it, and they are automatically saved a spot. An invitation can be used with this registration method.
- Registration (no RSVP): Similar to open registration, it allows a user to fill out the registration form, but he/she is not confirmed for attendance until someone manually approves the registration. (Or it may be disapproved.) An invitation can be used with this registration method.
- Invitation only: There is no registration form for this event. Users must be invited to the event.
- Allow anonymous users to register: Selecting this check box allows non-community members to register, but does not confirm their registration. If the event is open registration, someone must approve the registration before the anonymous user can attend. Selecting this check box forces the anonymous user to fill in user information, and once he/she clicks registration, he/she is shown a notice that the registration has been received. They are notified that they will soon receive more information. The user has not yet been confirmed for the event. When a community outsider registers in this fashion, he/she is emailed a registration code that can then be used to cancel the registration.
- Tags: Any tags that will categorize the event. (The tag will appear in the Tag Cloud widget on the main calendar page, dependent on the number of hits the widget requires before the tag is represented.)

- Click Save. The community view of the event appears (when using an external URL a web preview will appear in the event). If the Get map check box was checked, the event address and map links redirect the user to a larger map of the event in the mapping service being used.
Edit an event
- In the calendar event, click Edit in the More options.

- The Event calendar - add/edit event window appears.
- Make the edits.
- Click Save.

Cancel an event
- In the calendar's Upcoming events list, click the event.
- Click Cancel. If the event is canceled, it will be displayed in red type on the calendar and event list. If the red event is clicked, the event will state that it has been canceled. A canceled event still appears in search results. An event cannot be uncanceled once it has been canceled. Attendees will receive cancellation notices of the change.
Delete an event
- In the calendar's Upcoming events list, click the event.
- Click Delete.
- Click OK in the confirmation dialog. Deleting the event removes it from the calendar and event list. Deletion automatically cancels an event, so attendees are notified of the cancellation. The event will not appear in search results. An event cannot be undeleted.
Manage registrations (for registration confirmation required)
- Click the event on the calendar.
- Click More > Registrations. The Event calendar - event registration list appears (depending on user permissions). The list can be sorted by username, registration status (including cancellations), and date registered.

- In order to:
- Cancel a user's registration - Click ✗. The user will be notified of the cancellation.
- Confirm registration (for Registration confirmation required) - Click ✓. An attendance confirmation notice is shown when the event is viewed, and the user receives a confirmation email from the community.
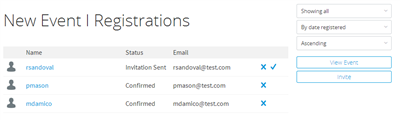
Invite registrations from the View Registrations page
A manager, by selecting Invite, has the ability to add users to the registration list without their having to register individually.
- In the User Name(s) or Email Address(es) field, begin typing a user name or email. The list of users with a similar name appears.
- Select the user or email from the list and continue until all desired registrants have been added.
- Select the Confirmed registration status.
- Click Send Invitation(s)
For members of the community, it is suggested to use their usernames - otherwise, an email address can be used.
Invite a user to an event (for invitation required)
- Navigate to an event and select More > Registrations.
- Add the username(s) or email in the User Name(s) or Email Address(es) field.
- Set the status to Invite.
- Click Send Invitation(s).
An anonymous user who has been invited by email will receive an invitation containing a registration code good for seven days. The user can take that code and follow the link in the email, then finish registering for the event.
For group members
As a member of a group, there are a number of available calendar and event options.
Telligent Event Calendar options
View a calendar
- Click the Events link in the group. If the group has only one calendar, the link will take the user directly to it. If the group has multiple calendars, the link will take the user to a list of calendars.
- Click the calendar to view. The main calendar view contains a large calendar with events and a calendar "More" menu.
- Navigate to different months in the calendars by clicking "next" denoted by > or "previous" denoted by <.
In the mobile view, the calendar will switch to the small calendar but will have similar functionality.
Email subscribe to a calendar
In the Calendar Links widget, click Calendar notification off. The option changes to Calendar notification on. As a general user subscribed to the calendar, there is only a notification for new events.
Email subscribe to calendar RSS
- In the Calendar Links widget, click RSS. The RSS subscription window appears.

- Select an RSS service (such as Live Bookmarks or Microsoft Outlook) from the Subscribe to this feed using... drop-down list.
- To always use the chosen service to subscribe to feeds, select the Always use <application> to subscribe to feeds check box.
- Click Subscribe now.
- If there is a confirmation dialog, click Subscribe, Yes, or other affirmative selection.
- If using Outlook, credentials might be needed to activate the feed.

Events
Comment on an event
- Click the event on the calendar.
- Locate the Leave a comment... area.
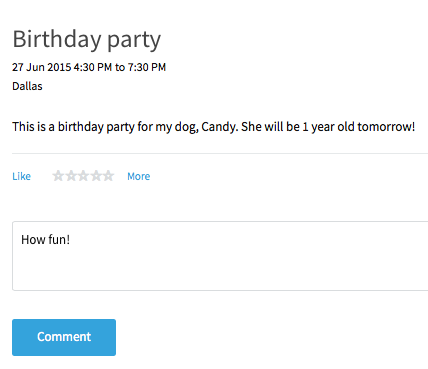
- Enter the comment.
- Click Comment. The comment is automatically published, but it can be edited or deleted by a manager.

Download an event
- In the Event, select the More option then click Download. A download dialog appears.

- Elect to either open the event with Outlook or other application, or save file. (If other is selected, there is a dialog to select the application.)
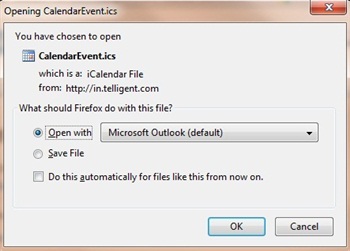
If the event is opened with Outlook, it is not already reserved in the user calendar. The user must click File and Save.
Register for an event / cancel a registration
- Click the event on the calendar. The Event calendar - Add/Edit registration form appears. Where possible, the application tries to prepopulate fields with information from the user profile.
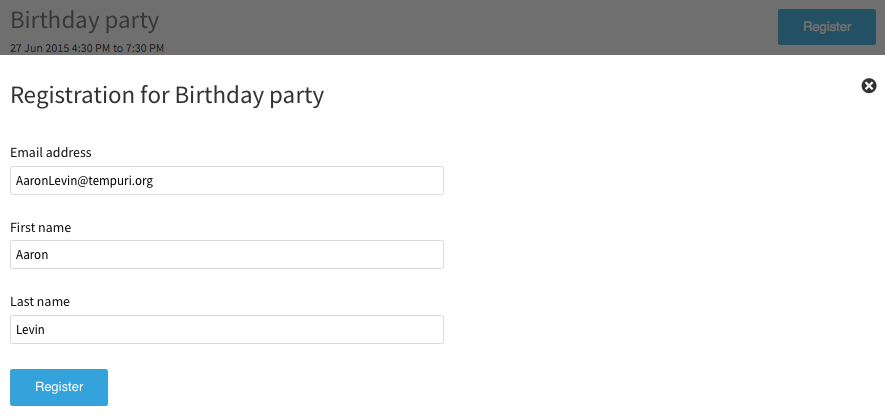
- Click Register. Once the user is registered, they are shown a confirmation in the event window and emailed a registration notice. The event changes to display Cancel Registration and Update registration buttons.
If the event is open registration, a confirmation is automatically displayed. the user is automatically sent an email confirmation as well. When the event is viewed, the Update Registration or Cancel Registration buttons are displayed.
A user can cancel their reservation using the Cancel Registration button. The event will then show that they have canceled the registration and will email them a notice of the cancellation. The user can reregister if there is space in the event attendance. If a user updates his/her registration information, the registration status is not affected.

Email subscribe to an event
In the Event Options widget, click Email subscribe to this event. The option changes to Unsubscribe from this event. A general user subscribed to the event is notified of changes, updates, or comments.
Email subscribe to event comments
- In the Event widget, click RSS for comments. The RSS subscription window appears.

- Select an RSS service (such as Live Bookmarks or Microsoft Outlook) from the Subscribe to this feed using... drop-down list.
- To always use the chosen service to subscribe to feeds, select the Always use <application> to subscribe to feeds check box.
- Click Subscribe now.
- If the user receives a confirmation dialog, they should click Subscribe, Yes, or other affirmative selection.
- If using Outlook, credentials might be needed in order to activate the feed.
