
In order to utilize OpenID Connect or SCIM provisioning(or both) you must first locate the Verint Community Application in the Okta OIN catalog. This functionality is only available in version 12.0.0.17629 and later.
Locate and Add The Verint Community Application
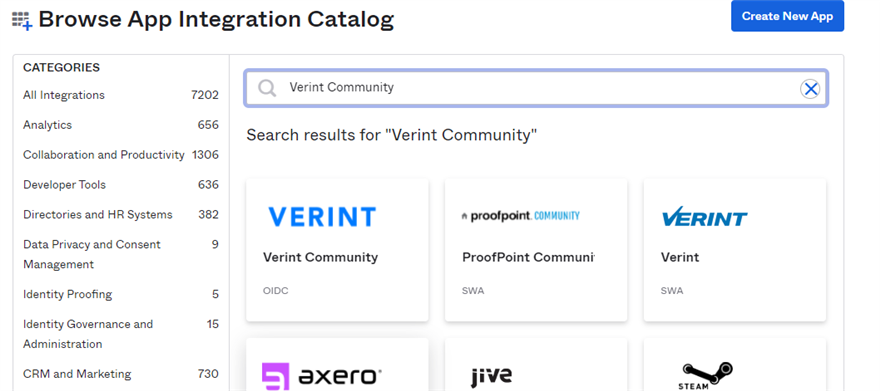
Browse the OIN app catalog in your Okta organization and look for the Verint Community application. Click it to add it to your organization.
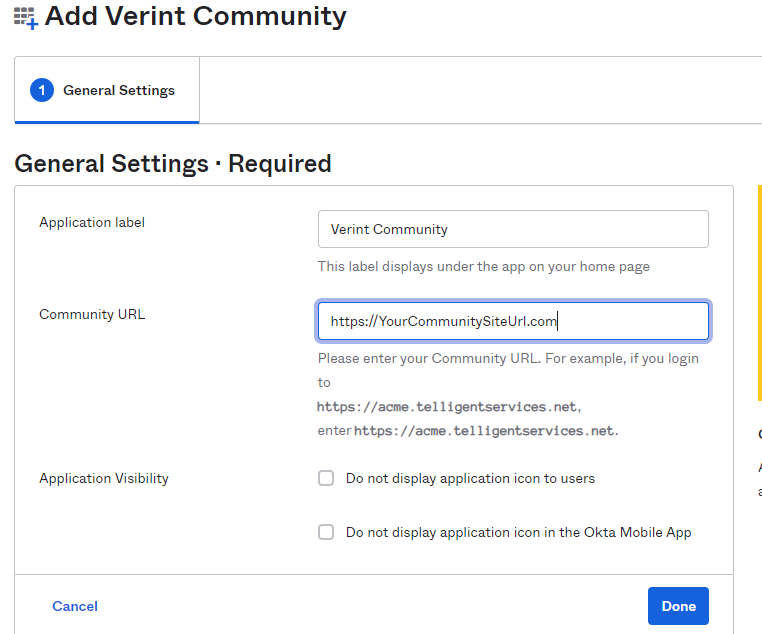
Add a label of your choice and the main site URL to your community. This value is the same value as the SiteUrl value in the connectionStrings.config file in your community's web root folder. Click Done to advance.
Getting Configuration Information for OpenID Connect
Select the Sign On tab and record the Client Id and Client Secret for use in the OpenID Connect Single Sign On plugin in your community.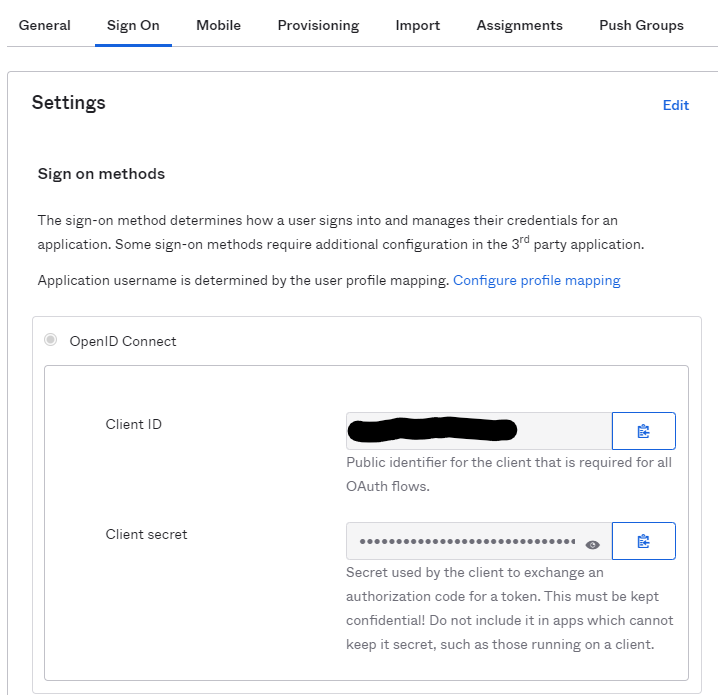
On the same screen, click the OpenID Provider Metadata link. This will show you a page with JSON based output.
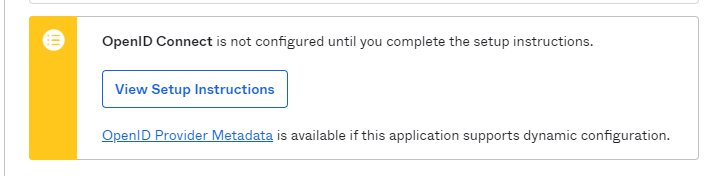
In the URL portion of your browser, copy the root URL only and save it for future use. This will be the Authorization Server value in the OpenID Connect Single Sign-On plugin's configuration.

With these values recorded you can configure the OpenID Connect Single Sign On plugin by reading the article How Do I Setup and Configure SSO Using OpenID Connect? .
Configure SCIM Provisioning
If you would like to utilize SCIM user and group(role) provisioning you can do so by navigating to the Provisioning tab. This is not required to use OpenID Connect, however to utilize provisioning you should be using OpenID Connect via Okta for single sign on.
Before you begin, you MUST create an account or utilize an existing account with at least manage membership permissions, and have granted API Key permissions to the account. You must then create and record the API key to use with provisioning setup.
Prepare the API key by concatenating the API key, a colon, and the username, then base 64 encode the entire string.
Base64Encode(ApiKey:Username)
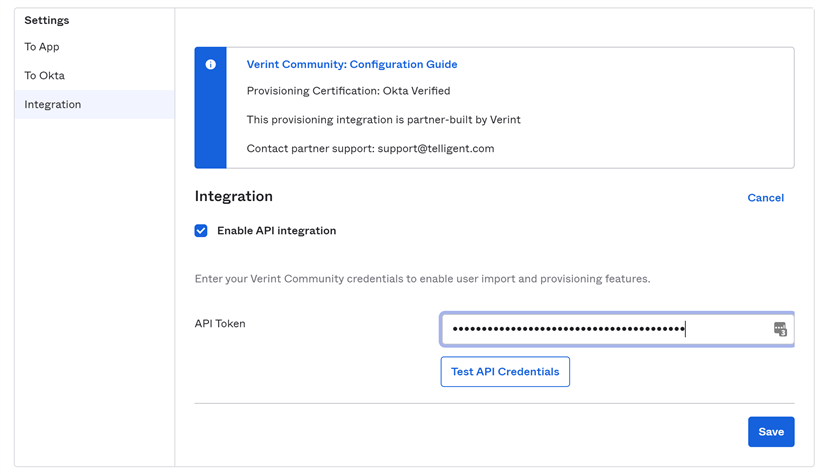
On the provisioning tab, select edit then Enable API Integration. In The token filed you will enter the API Key by adding Evolution-ApiKey, a space and then the base64 encoded string from above.
Evolution-ApiKey base64string
You can learn more about API keys in the Authentication with REST article in Developer Training .
Once saved, select To App on the left side options. Click edit, then select what features you wish to support. You can choose to Create Users, Update User Attributes(Note that this requires that you have configured mappings in your community for this) and Deactivate users.

Once you have completed these steps, you can continue to set up the SCIM v2 Integration in your community following the guide How Do I Setup User Provisioning Using SCIM? .