ReCaptcha is a Google-owned service that provides a visual or audible challenge that should be simple for humans but difficult for SPAM-creating bots to complete. When enabled, ReCaptcha can be used to validate that member registrations are requested by humans and decrease the creation of SPAM accounts. This guide provides the steps to enable ReCaptcha on the user registration form.
Get a ReCaptcha key
- Navigate to www.google.com/recaptcha.
- Click Get ReCaptcha.
- Enter a label for the site.
- Enter the domain of your community site.
- If desired to receive alerts about the site, select the Get alerts about this site check box.
- Enter the owners of the site in the Owners check box.
- Click Register and follow the on-screen instructions to create an account, enabling the key on all domains.
- Copy and save the site and secret keys to a different location.
Install and configure the ReCaptcha plugin
- Navigate to Administration. Search for "ReCaptcha Support" and click the "ReCaptcha Support" result.
- Click the Enabled check box.
- Public key - Fill in the site key in the public key field from your ReCaptcha key page.
- Private key - Fill in the secret key in the Private key field from your ReCaptcha key page.
- Click Save.
Set up the User - Login and Create widget to user ReCaptcha
- Navigate to the site home page (or profile page) to edit the site theme.
- Mouse over Management.
- Click Manage site theme.
- Click Manage pages.
- Search for the User Registration page.
- Click Edit Layout.
- Locate the User - Login and Create widget.
- Click Configure on the widget.
- In the Mode drop-down list, select Create User.
- Select the Enable Captcha on create user check box.
- Click Save on the widget configuration dialog box.
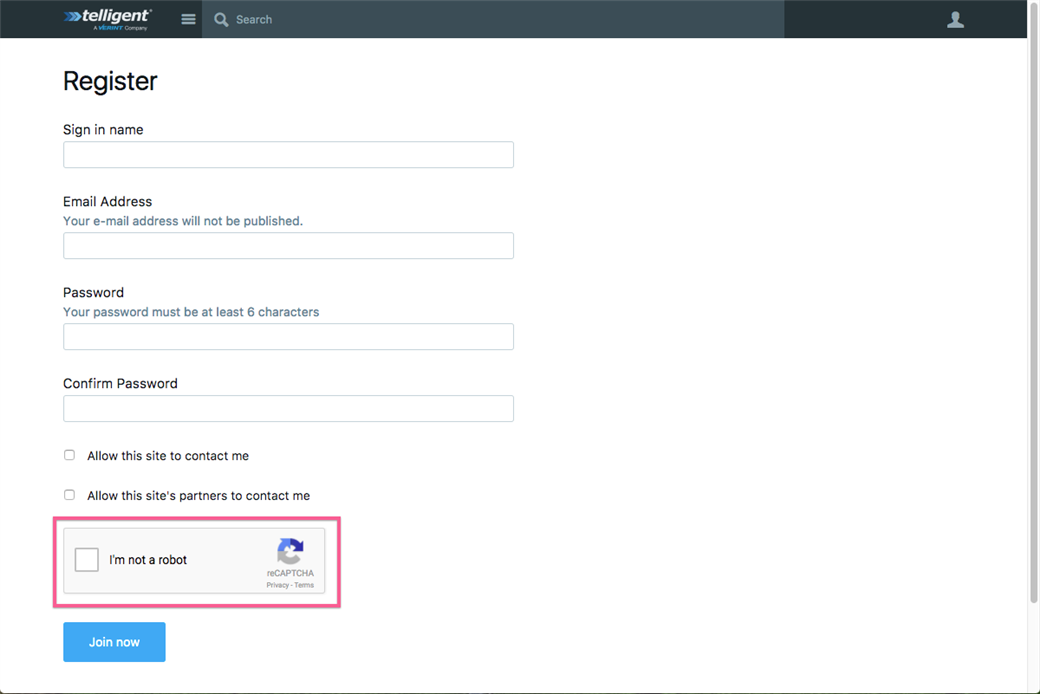
- Click Publish. When a new user registers in the community, he/she will now see ReCaptcha on the registration form.