How Our Case Portal Updates Benefit You:
- Stay Informed. With our new community-integrated portal, it will be easier than ever to track your support cases.
- Be Empowered. Request support, locate resources, and share best practices, tips, and ideas with other Verint Community users without leaving the community.
One significant change is that you will no longer be able to open cases via email, although you will be able to communicate via email once a case has been created. This change helps us ensure we have the proper information to route your case appropriately and work on it more expeditiously. In addition, for security purposes, all attachments and screenshots must be submitted via the portal.
Please note, only cases that are currently open will be migrated and made available from the Case Portal.
In order to access the Case Portal, and the options outlined below, the email address associated with your account on https://community.telligent.com must match the contact email address we have in our case management system. You can verify the email address currently configured on the community on https://community.telligent.com/user/settings

If you cannot see the options discussed in the overview below, please reach out to your Customer Success Manager so we can make sure everything is setup for you.
Case Portal Overview
Outlined below are the general options available to you in terms of creating and managing any cases you have opened with us.
Creating A Support Case
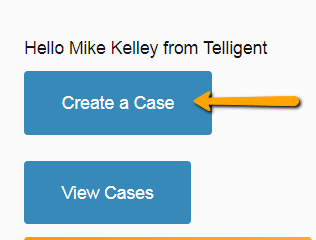
To create a case, click the Create a Case button on the community homepage or visit https://community.telligent.com/p/createcase
Viewing Support Cases
To view all open cases, click on the View Cases button or visit https://community.telligent.com/p/cases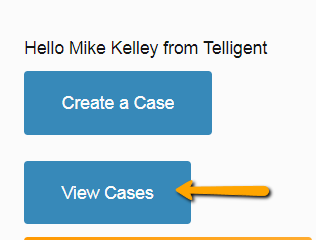
When the case page loads the default view will present all currently open cases associated with the contact accessing the page. This listing can be scoped to include only cases that you have created or cases created by all contacts associated with your company. These options are further broken down allowing for the listing to show only open, only closed or both open and closed cases.
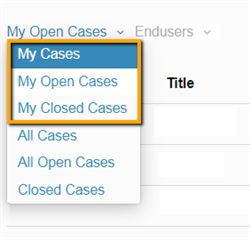
When accessing this case view as Partner there will be an additional drop-down allowing for the list to show only cases created on behalf of a particular customer.
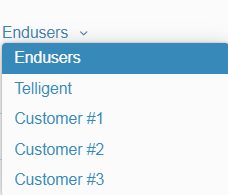
Interacting With A Support Case
To interact with a case, click on the Case Number on the View Cases page.
This will load the case details page allowing for the case to be updated, have attachments added, escalated or closed.
Adding a new response to a case:
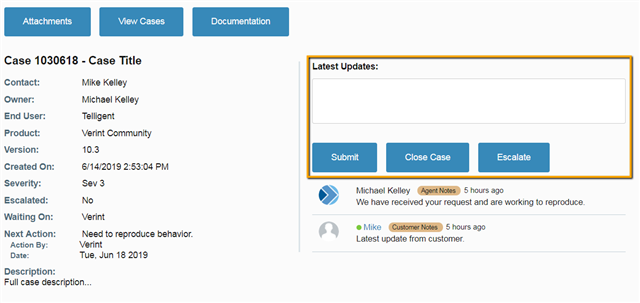
To add a new response to a case, type the update into the Latest Updates text box and click the Submit button. Alternatively, reply directly to a notification email from the case and that response will be added automatically.
Adding an attachment to a case:
To add an attachment to a case, click the Attachments button. This will open a new window or browser tab with the Aspera interface.
Browse to the __FromCustomer__ folder and click the Upload button.
If issues are encountered attempting to access Aspera to add case attachments, please refer to the following troubleshooting documentation.
Escalating a case:
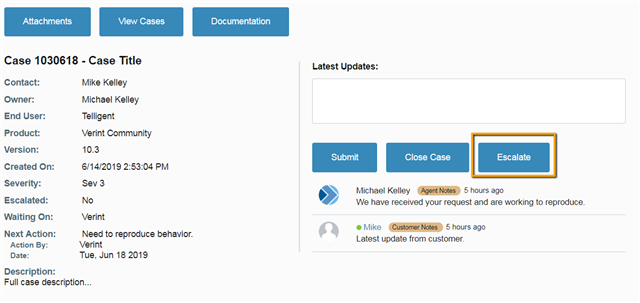
To escalate a case, click the Escalate button and select one of the available options. Upon submission this will be sent to the engineer and their manager for review.F
Closing a case:
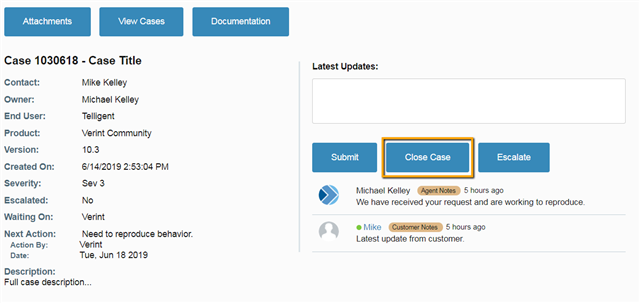
To close a case, click the Close Case button. Then confirm that you want to close the case by clicking OK on the confirmation prompt. This will put the case into a status pending final review by our engineers. After closure, there is a period of 30 days where the case can be re-opened, otherwise a new case will have to be created.
Thank you for allowing us to serve you. Should you encounter issues or have any questions whatsoever please don’t hesitate to let us know.

