In order to use your Verint Community site with Zapier, you need to register it as an OAuth client. Before following the steps below, please make sure that your account has administrative privileges.
Add New OAuth Client
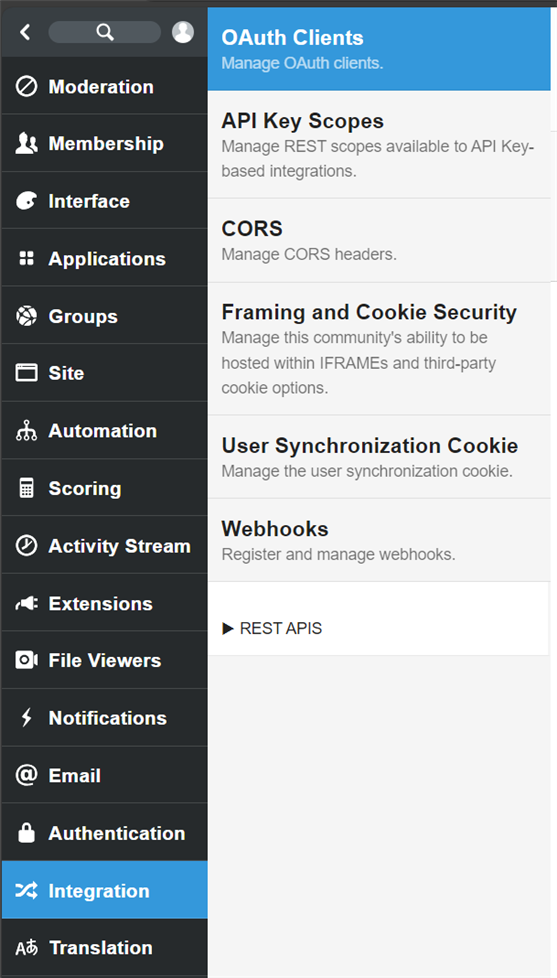
Log in to your Community site, and navigate to the administration page: Administration > Integration > OAuth Clients.

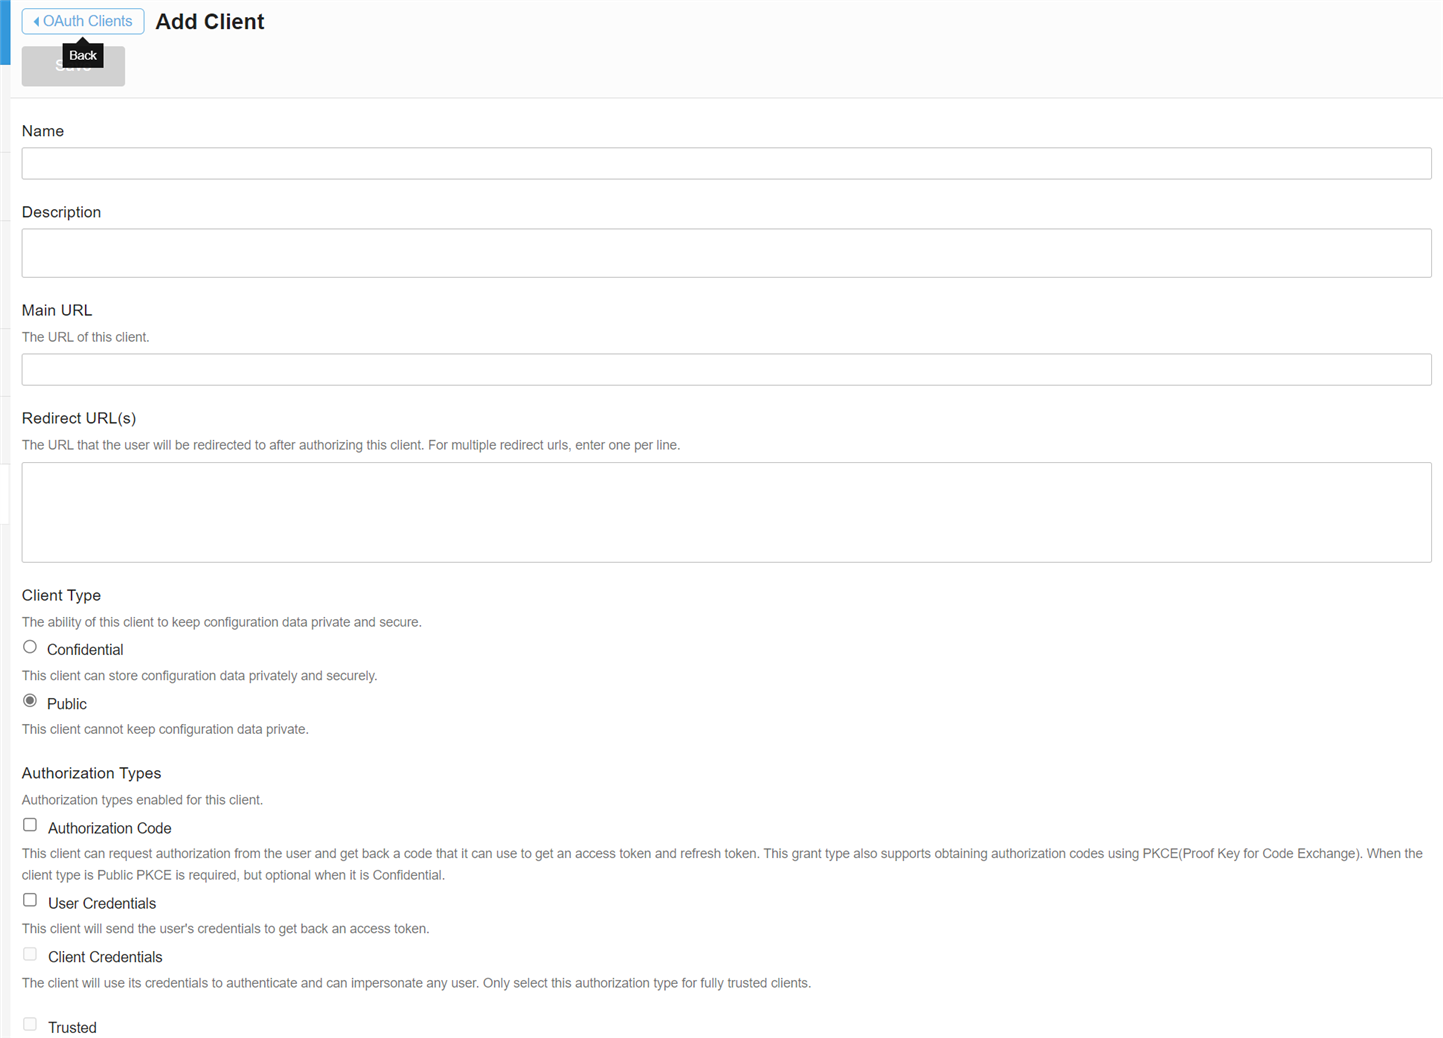
Click on Add button, and you will be presented with the following screen:

Fill the form above with the following information:
| Field | Value |
| Name | The name of your Zapier OAuth Client, for example: Zapier Client. |
| Description | The description of your Zapier OAuth Client. This field is optional. |
| Main URL | The main URL of Zapier, in this case: https://zapier.com |
| Redirect URL(s) | The URL that the user will be redirected to after authorizing Zapier. You can find this URL from the Authentication section of your Zapier Integration. The URL should look like this: https://zapier.com/dashboard/auth/oauth/return/xxxxxxxxxx/ |
| Client Type | Select Confidential. |
| Authorization Types | Select Authorization Code. |
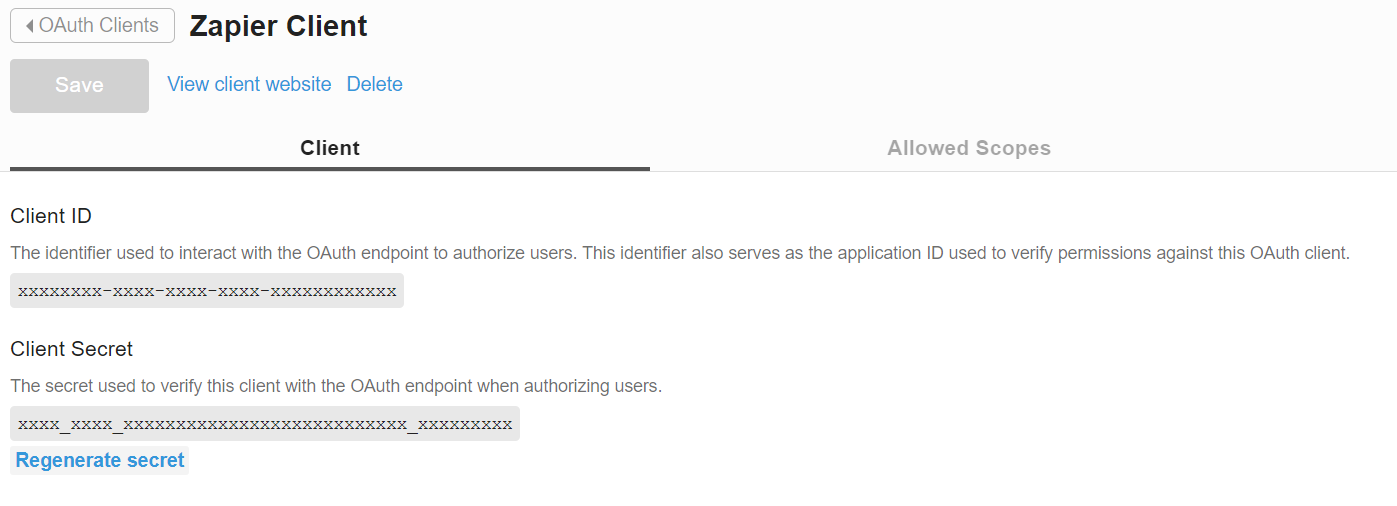
Once all the fields are filled, click Save button, and you will be presented with Client ID and Client Secret

Please securely store both information, as the Client Secret will not be visible anymore after you leave this configuration page. These information are required to connect to your Community instance when creating a Zap. If you forgot or lost the Client Secret, you may regenerate it by clicking Regenerate secret link.
Defining API Access to Zapier OAuth Client
Your newly created Zapier client does not automatically obtain access to Community API. You need to define which APIs the Zapier client has access to use.
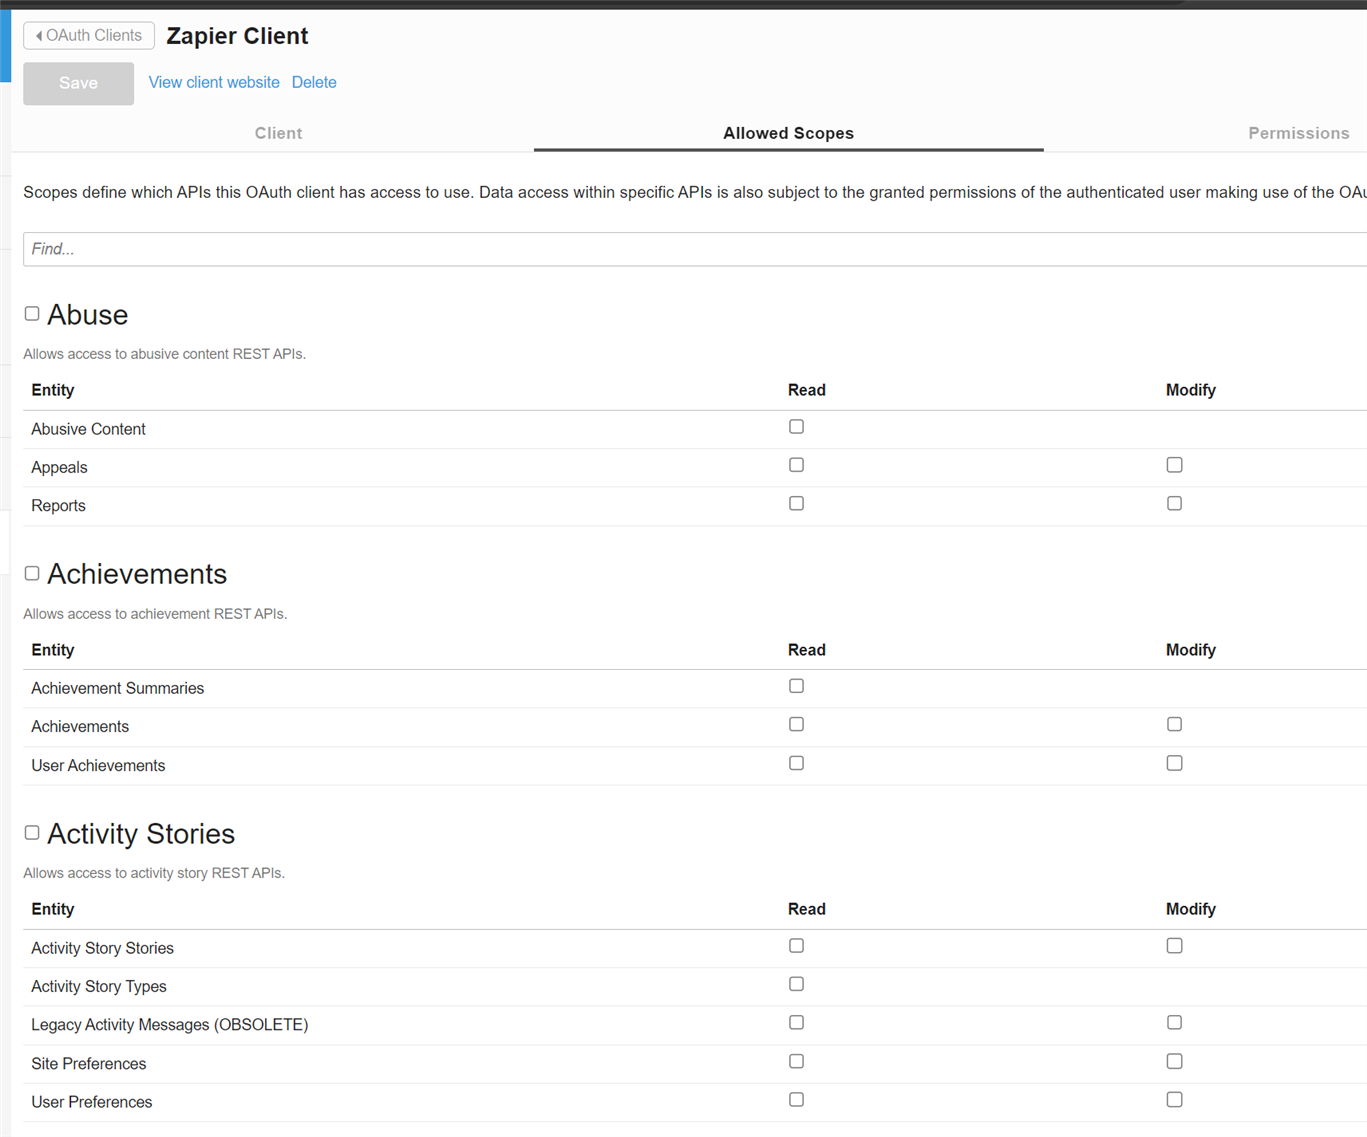
After obtaining the Client ID and Client Secret, three tabs will appear on top of the form. Select Allowed Scopes tab, and you will be presented with following screen:

Select any APIs that are supported by the Zap, for example: Blogs, Wikis, Forums, and Users.
After you have finished, click Save button to save your changes.

