
Whenever a major release or service release is installed, Verint Community leaves the user experience of your community as it was. If any changes were made to components of the user experience, the administrators of the community will get a system notification providing next steps to review and publish those changes.
Notification of user experience changes
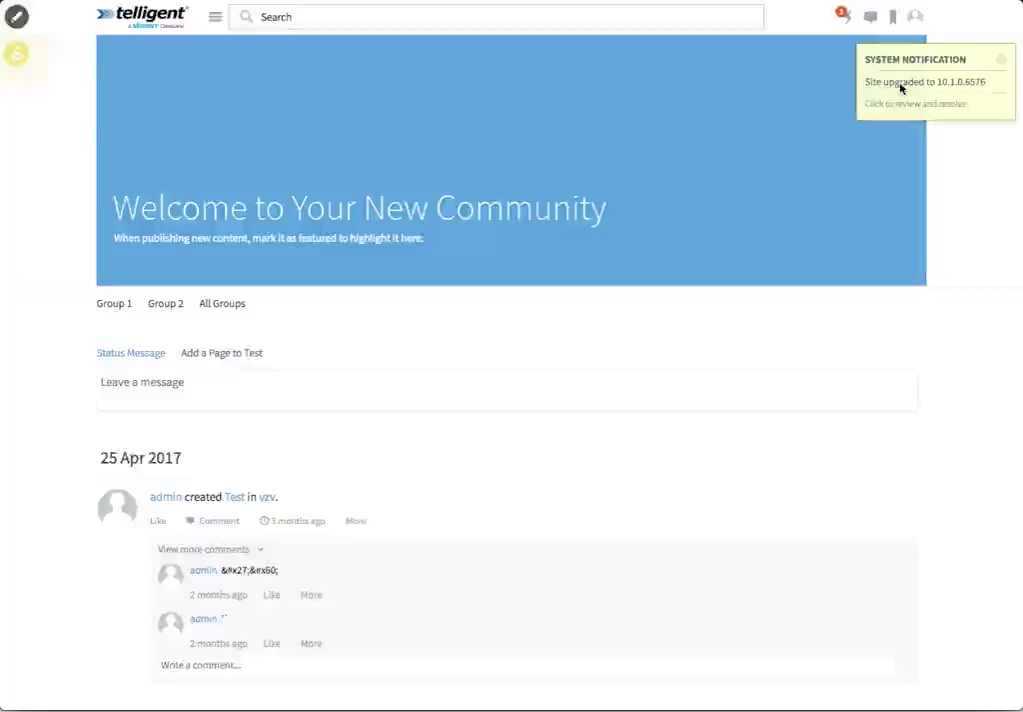
As part of the upgrade process of Verint Community, the platform components are updated and your community's user experience is preserved to allow you to review user experience changes and choose which changes you'd like to incorporate within your community as a post-upgrade step. If changes were made from the previous version of Verint Community to the newly upgraded version, a system notification will be set to the administrators of the community:
Clicking this notification will open the message which will identify your user experience (and other upgrade-related) options:
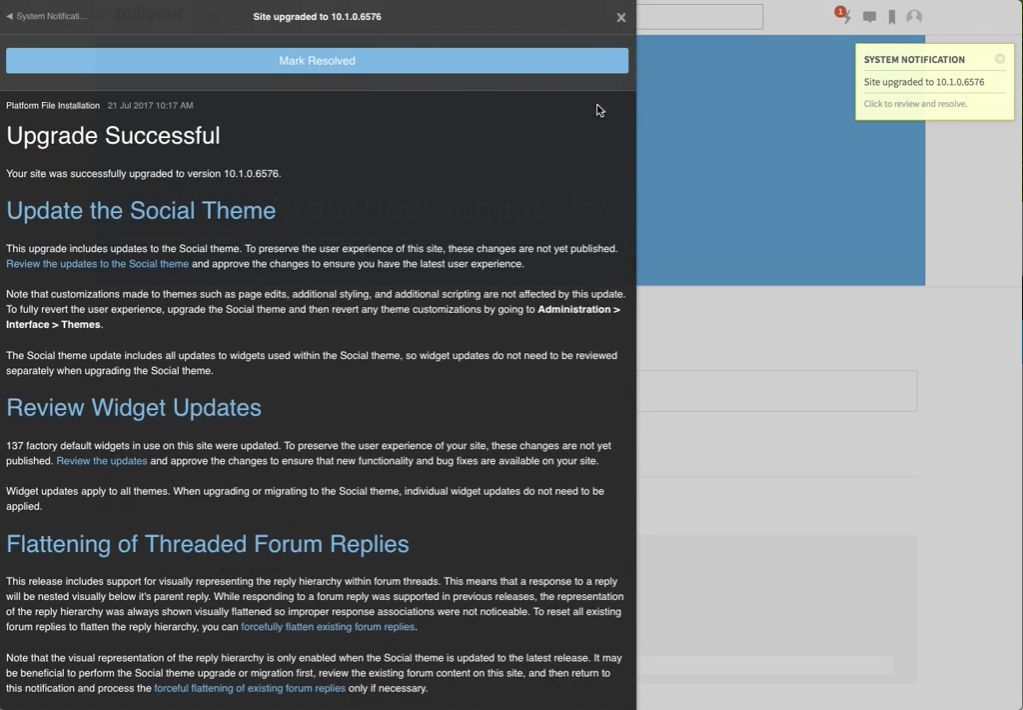
Depending on the version of Verint Community that you upgraded from, the options available will change. Each optional post-upgrade step includes a description to help guide you to make decisions appropriate to your community.
For sites using the Social theme, the Update the Social Theme process should be used to start a review of the updates to the default user experience of Verint Community. To start reviewing the updates to the Social theme, click Update the Social Theme.
Beginning the Review
When you first select to update the social theme, the User Experience Upgrade panel will show:

This explains the review process in a little more detail and allows you to begin the review. Click Review Upgraded Theme to start. When you click this button, the user experience changes that were made between the last version installed and the newly upgraded version of Verint Community will be staged for your review. The staged changes are only visible to you and are not published for any other visitor to your community. When the staging process is complete, you'll be taken to the Preview Staged Changes panel and preview mode will be enabled for you.
Reviewing Changes
The changes should now be presented to you within the Preview Staged Changes panel and the preview should be enabled. This allows you (and only you) to navigate around the community and see how it looks with the latest user experience upgrades provided in the default user experience in Verint Community. For more details about previewing and reviewing staged changes, see How do I preview UI changes in the community?

The Preview Staged Changes panel categorizes changes by their type and includes a few unique categories that are only shown as part of a user experience upgrade:
- Upgraded Customized Widgets: These are widgets that have been updated that were previously customized for your community. These widgets require the most careful review. You may want your development team (the one that made the customizations) to review these widgets. If you click the change count button, the list of specific widgets to review will be shown and each will have an Edit option to open the widget in Widget Studio where a visual diff can be performed to review and merge the changes as applicable.
- Upgraded Widgets: These widgets were not customized for your community but were updated as part of the current upgrade. These widgets should be able to be visually reviewed by navigating the site (developer review is not required).
- Removed Widgets: These widgets were removed from the platform as part of the latest upgrade. Generally this is because their functionality was merged with other widgets and any necessary page changes related to widget removal are listed within the Pages category in the Preview Staged Changes panel.
The recommended review is to
- Navigate around the site and review general styling and functionality changes.
- If you notice any anomalies, you can directly edit pages and theme styles using the existing page and theme edit tools (see How do I customize the look and feel of my community?) to address the issues. These changes can be staged for preview on top of the user experience upgrade changes so that all changes can be published at once.
- Specifically review the widgets in the "Upgraded Customized Widgets" list. Consult with your development team to review these changes.
- Approve or deny all changes, either at the category level or by reviewing the specific changes within a category.
- When all changes are approved or denied, click Commit Reviewed Items.
Theme Upgrading from a version before 10.2
The 10.2 release introduced Theme Studio for editing the implementation of themes using a developer-centered integrated development environment. When upgrading to 10.2, all existing themes are first migrated to be compatible with Theme Studio and then the upgrade process outlined above is used to upgrade the migrated theme to expose new theme functionality.
Theme Migration
The migration process will begin as soon as you upgrade to adjust existing themes to work in Theme Studio . As part of this process, your existing themes and the usage of those themes will be analyzed. Theme Studio provides a better ongoing development and editing environment for implementation of themes (images, CSS, LESS, HTML, configuration, etc) and is preferred for storing these lower-level files and options. During the migration process, the site theme's configuration options, which were historically developer-oriented, will be migrated directly into a site theme located in Theme Studio (Administration > Interface > Theme Studio). Based on the usage of group and blog theme options, options that were never modified (or always modified the same way) will be merged into the implementation of the theme in Theme Studio and any theme options that varied between uses will continue to be supported in the community.
As a result of the migration, your theme should look as it did prior to the upgrade. The options exposed when configuring a theme in Manage Theme > Edit Theme (now Manage Theme > Theme Options) will be adjusted to move as much configuration to Theme Studio as is possible. As a result, after upgrading, you may see fewer or no configuration options (if there are no configuration options to expose, the Manage Theme > Theme Options panel will not be available).
Theme Upgrading
The theme upgrade process works as outlined above via the upgrade notification and similar upgrade options. When reviewing Social Theme Updates, the new implementation of the Social site theme will me merged into your migrated site theme. Specifically,
- Any custom CSS, LESS, JS, and supplementary files are merged ahead into the upgraded/merged theme. If you added a site-specific CSS file, it'll still be there in the merged/updated site.
- Palettes are detected and defined. Theme Studio defines reusable sets of configuration called palettes which enable widgets to be styled similarly. When upgrading to the 10.2 version of the Site Banner, Group Banner, Blog Banner, Custom Navigation, and Featured Content Carousel widgets, the new version of the widgets will read their configuration from the palettes defined by the site theme. To ensure a smooth upgrade, the current configuration of these widgets is analyzed and custom palettes will be added to the site theme to ensure that all palette configurations currently in use on the site are represented in the upgraded/merged theme.
- Platform-defined custom css is removed. When the site theme was migrated for use with Theme Studio, its custom CSS was moved to the customcss.css file. During the upgrade/merge of the theme, the platform-defined content from the customcss.css file is removed as it is no longer required to make the upgraded theme to react to configuration options.
- If any custom styling exists in the site theme (a custom CSS, LESS, customcss.css file), many of the platform-defined configuration options will be disabled. Because the platform-defined options use LESS/CSS to implement many configurable behaviors, the presence of custom CSS may cause these options to not function or not function as expected. To prevent the appearance of broken functionality, any configuration options making use of LESS/CSS that could be overridden are disabled. The disabled options are identified in the configuration component of the site theme and can be re-enabled by a theme developer after reviewing the custom CSS/LESS to ensure that it doesn't conflict.
- If you manually defined a favicon, it will be merged into the upgraded/merged theme. The upgrade will attempt to review your HTML headers to extract a custom favicon file and apply it to the configuration of the upgraded theme. The favicon can later be changed by going to Manage Site Theme > Theme Options.
The review of the upgraded/merged theme is performed as outlined above when reviewing other upgrade-related UI options. Note that the theme upgrade does not alter the group or blog theme from before version 10.2. Any custom configuration options that were present in the migrated theme will be present after the UI upgrade as well.
Review Effort Notes
In general, if your community has used the page editor and widget configuration options for customization, your upgrade should be easy -- there should be no widgets in "Upgraded Customized Widgets" and the changes should be easy to review by navigating around the site and accepting all of the changes.
If you had previously invested development effort in customizing widgets or overriding default styling via custom cascading style sheets (CSS), you will need to review your development changes and overrides as part of the user experience upgrade. It is possible that you prefer your customizations over the changes provided by the platform upgrade and you'll want to make a decision on a case-by-case basis.