
When implementing a scripted customization, support for end-users uploading files is often required. Files can be specified in script configuration or through a UI rendered by a script.
Files Uploaded through Configuration
All scripted customizations support exposing configuration options using dynamic configuration. Dynamic configuration supports embedding files in configuration properties of the following types:
- HTML. HTML properties can support uploading files through the HTML editor. Uploaded files are stored with the configuration.
- URL. URL properties can optionally support uploading files to be stored with the configuration.
- URLList. URL list properties can optionally support uploading multiple files to a single configuration property value to be stored with the configuration.
- Custom. Custom properties can include configuration metadata to allow Verint Community to detect CFS-stored files referenced within the custom value. When configured, Verint Community will detect and store those files with the configuration.
See Using Dynamic Configuration and the default property templates for more details about each of these data types and their file-related configuration options.
As an example, consider the following dynamic configuration XML:
<propertyGroup id="options" labelText="Options">
    <property id="file" labelText="File" dataType="url" allowLocal="true" allowRemote="false" enablePreview="true" allowedFileExtensions="jpg,jpeg,gif,png,svg" />
</propertyGroup>
This defines a single property named "file" of type url. Using the default rendering for url properties, url, it defines a few template-specific configuration options:
- allowLocal. Setting this to true enables files to be uploaded to this property.
- allowRemote. Setting this to false disables manually entering a URL for this field--causing it to be upload-only.
- enablePreview. Setting this to true enables a preview of the selected file.
- allowedFileExtensions. This can be set to a comma-separated list of file extensions that are allowed to be selected for this property.
When presented to end users, this property is rendered as:

The "Upload" link opens a file selection UI (provided by the web browser). When a file is selected, it's name is shown along with a preview:
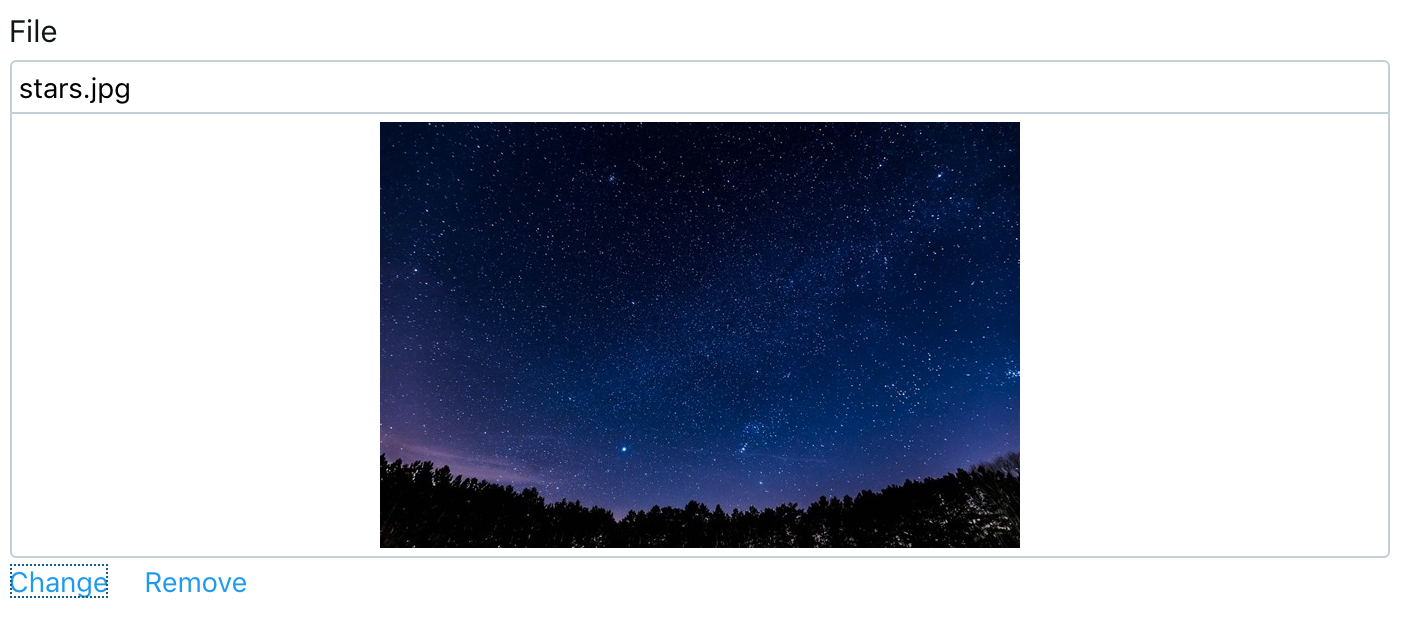
The file can then be changed (uploading a new file) or removed (setting the property back to empty/null).
Within a script, the URL of the selected image is retrieved from core_v2_widget.GetUrlValue() and can be used with core_v2_ui.GetResizedImageHtml() (since this is an image file) using the script
$core_v2_ui.GetResizedImageHtml($core_v2_widget.GetUrlValue('file', ''), 300, 300, "%{ ResizeMethod = 'ZoomAndCrop' }")
to resize and render the file as

Files Uploaded through a Rendered Script
When a scripted customization need to collect a file for use with an API (for example, Verint Community API that accepts a filename/filecontext or with a custom API that needs to support providing a file), it can use the glowUpload jQuery plugin to support selecting and uploading a file. For example, consider the following script:
<form>
    <input type="text" id="$core_v2_widget.UniqueId('file')" readonly="readonly" />
    <div>
        <a href="#" id="$core_v2_widget.UniqueId('uploadFile')">Upload</a>
        <a href="#" id="$core_v2_widget.UniqueId('removeFile')">Remove</a>
    </div>
</form>

#set($uploadContextId = $core_v2_uploadedFile.CreateContextId())

<script type="text/javascript">
jQuery(function() {
    var fileUpload = jQuery('#$core_v2_widget.UniqueId('file')');
    var uploadButton = jQuery('#$core_v2_widget.UniqueId('uploadFile')');
    var removeButton = jQuery('#$core_v2_widget.UniqueId('removeFile')');

    removeButton.hide();

    removeButton.on('click', function() {
       fileUpload.val('');
       uploadButton.html('Upload');
       removeButton.hide();
       return false;
    });

    uploadButton.glowUpload({
        fileFilter: null,
        uploadUrl: '$core_v2_encoding.JavascriptEncode($core_v2_uploadedFile.GetUploadUrl($uploadContextId))',
        renderMode: 'link'
	})
		.on('glowUploadBegun', function (e) {
		    uploadButton.html('Uploading (0%)...');
		})
		.on('glowUploadComplete', function (e, file) {
			if (file && file.name.length > 0) {
				fileUpload.val(file.name);
				uploadButton.html('Change');
				removeButton.show();
				alert('filename: ' + file.name + '\nupload context: $uploadContextId');
			}
		})
		.on('glowUploadFileProgress', function (e, details) {
			uploadButton.html('Uploading (' + details.percent + '%)...');
		})
		.on('glowUploadError', function(e) {
			uploadButton.html('Upload');
		});
});
</script>
This is a simplified version of the type of file uploads used throughout Verint Community. It consists of a selection field (the <input /> element), links to upload and remove the file, and the related client-side javascript used to implement the functionality of the upload.
A few key notes about this implementation:
- The initialization of glowUpload is rather simple, but because this example uses the 'link' rendering of the jQuery plugin, the plugin provides no UI and just handles clicking of the related element. Because of this, the script must provide the logic of showing upload progress and showing the final completion state. To implement this behavior, the
glowUploadBegun,glowUploadComplete,glowUploadFileProgress, andglowUploadErrorevents are handled--these provide updates on the status of the glowUpload plugin. - When the file upload is complete, it is stored in a temporary location within the centralized file system accessible only the accessing user. The file cannot stay in this location. The filename and upload Context ID can be used with Verint Community APIs accepting files to reference this file and move the file to a permanent location. For a custom implementation, the file must be moved to an appropriate centralized file system file store. See Managing Physical File Storage for more details about creating custom file stores. In this example, the uploaded filename and upload context ID are shown via a javascript alert.
- The filename and uploadContextId can be used with the core_v2_uploadedFile API on the server-side to retrieve the URL of the temporary file which could be used to preview the uploaded file before it is committed to a permanent location.
When rendered, this script provides the following UI:

When Upload is clicked, the browser-define file selection UI is provided. Selecting a file results in the filename being shown and the Change/Remove links being shown:

This implementation does not store the file in a final location but provides the file details that could be used to retrieve the file data or provide a reference to the uploaded file to other file-supporting Verint APIs via a javascript pop-up alert:
