
I found this related thread from 6+ years ago and wanted to share an updated version of the widget code based on the suggestions (using the Current vs Accessing user) and the steps to add it. This worked in version 11.1.
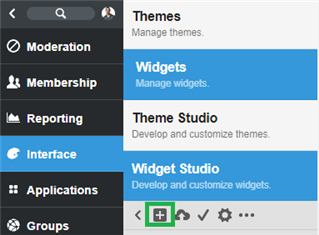
Step 1 - Access the administration interface by clicking the following: pencil icon > Interface > Widget Studio and click the small plus sign icon to create a new widget.
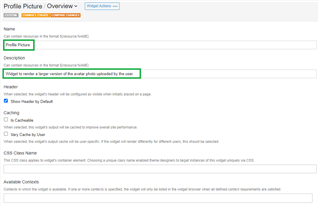
Step 2 - On the resulting page, enter a Name and Description for the widget.
Step 3 - On the right hand side of the screen, click </> Content under the Components list.
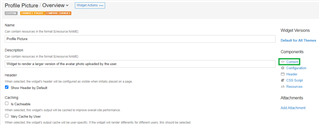
Step 4 - Paste the code snippet below into the code editor.
<div>
    UserID: $core_v2_user.Current.Id
    <br />
    $core_v2_ui.GetResizedImageHtml($core_v2_user.Current.AvatarUrl, 600, 600, "%{ ResizeMethod='ZoomAndCrop' }")
</div>

Step 5 - On the bottom left of your screen click the three horizontal dots ... in the orange Staged Changes notification, then click Publish All

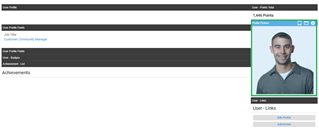
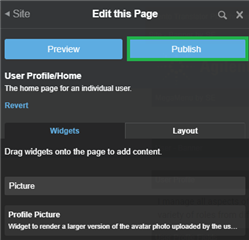
Step 6 - In your community navigate to a user profile page, then click the pencil icon > Manage Site Theme > Edit this Page.
Step 7 - Search or browse the list of widgets to find the name you configured in step 2 above.
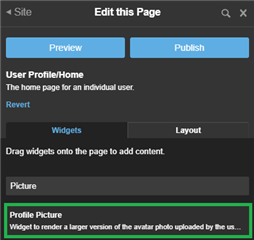
Step 8 - Click and drag the widget from the last step in the desired place on the profile page.
Step 9 - Go back to the admin panel fly out menu and click Publish, then refresh the page.
changed color of hyperlink so it is more visible
[edited by: Matt Nevill at 10:13 PM (GMT 0) on Tue, Jan 5 2021]

