Before proceeding with the installation, you should ensure your meet the System Requirements and determine the following:
- Service Accounts:
Are you using domain accounts or local accounts. If using a domain account, you'll need to know the credentials for that account - Filestorage Path:
The path you're using for filestorage. For a local install use a local directory (e.g.D:\Telligent\Filestorage). With Multiple Servers this will be a UNC share, or a DFS Replicated folder. - Database Authentication Method:
Are you going to use SQL authentication or Integrated authentication - Have the Telligent Installation package:
Contact Telligent Support to obtain this. After downloading, make sure to unblock the package by right clicking on it and choosing properties. At the bottom of the window may be an option to unblock the file - Click the button or check the box (depending on your version of windows) then click OK. If you don't see an option to unblock the file, then you're good to go.

[toc]
Install Database
SQL Server 2012 or higher is required. Amazon RDS and SQL Azure are also supported.
- Create a new database.
- Run Install.sql:
This can be found in theSqlScriptsdirectory of the installation package. If you encounter any errors, make sure to look at the earliest errors first - later errors are usually side effects of the earlier errors. - Run cs_system_CreateCommunity:
Run the following script against your database, replacingSiteUrlwith the url you'll run your community at, andAdminPasswordwith a temporary password.EXECUTE[dbo].[cs_system_CreateCommunity] @SiteUrl = N'http://yoursite.com', @ApplicationName = N'telligent', @AdminEmail = N'notset@localhost.com', @AdminUserName = N'temporary-admin', @AdminPassword = N'[PUT A TEMPORARY PASSWORD HERE]', @PasswordFormat = 0, @CreateSamples = 0 - Create logins and grant permissions:
If using integrated authentication, create logins for service accounts, otherwise create a new SQL login for the community. Grant these logins the following roles in the community's database. (If using local service accounts, you will have to come back to this step later).aspnet_Membership_FullAccessaspnet_Profile_FullAccessdb_datareaderdb_datawriterdb_ddladmin
Install Search
Search requires that Java 8 Update 121 64 bit or higher is installed on the search server
- Install Search Files:
Locate theSearchdirectory in the installation package. Copy this to a location on disk where you wish to install search (e.g.d:\Telligent\Search\). Do not place this folder within yourWebdirectory. - Install Search Service:
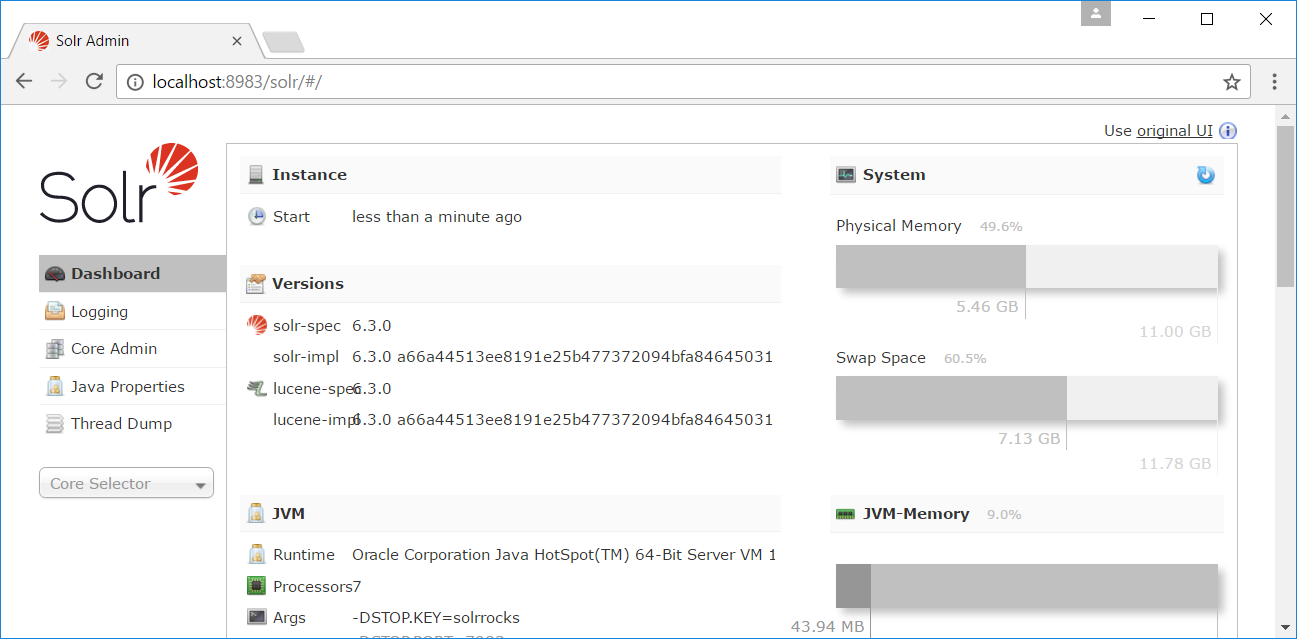
Open up PowerShell as an administrator rights and execute.\bin\ServiceInstall.ps1to install search. (If you encounter any errors, refer to Troubleshooting PowerShell at the end of this article.) When complete, the script will output the messageSolr has been successfully installed to http://localhost:8983/solr/. Open this url in your web browser to verify installation completed successfully.
- Secure & Expose Search:
If your website or job services are installed on other machines, you may need to configure your network so those servers can access search. You MUST NOT expose search over the public internet, instead use firewalls and network isolation technologies to ensure that the TCP Port 8983 can only be accessed from the web or job servers.
Install Website
.Net 4.6.2 is required on web servers. If you have multiple web servers, repeat steps 1-5 on each server
- Install the web files:
Locate theWebdirectory in the installation package. Copy this to a location on disk where you wish to install the site files (e.g.d:\Telligent\Web\) - Configure connection strings:
Open the connectionstrings.config file, and update the connection strings to match your environment- SiteSqlServer- the connection string to your database. This will typically look something like the following
- Integrated Authentication:
server=SQLSERVER;Trusted_Connection=yes;database=TELLIGENT-COMMUNITY - SQL Authentication:
server=SQLSERVER;Trusted_Connection=yes;database=TELLIGENT-COMMUNITY;uid=USERNAME;pwd=PASSWORD
- Integrated Authentication:
- FileStorage: The path to the folder or UNC share used for filestorage (e.g.
d:\Telligent\Filestorageor\\FileServer\TelligentFilestorage) - SearchContentUrl: The url to the solr core containing the main content index. Typically this will be
http://YOUR-SEARCH-SERVER:8983/solr/telligent-content/ - SearchContentUrl: The url to the solr core containing the conversation index. Typically this will be
http://YOUR-SEARCH-SERVER:8983/solr/telligent-conversations/
- SiteSqlServer- the connection string to your database. This will typically look something like the following
- Create a new website:
Open up IIS Manager. In the tree on the left, right click on Sites, select "Add Website" and follow the wizard. Point the physical path to the folder created in step 1, and ensure that a new application pool is created with the website. - Configure the Application Pool:
In the tree view in IIS Manager, go to Application Pools. Right click the application pool created in step 3 and select Advanced Options. Ensure the following settings are configured:
- General:
- .Net Clr Version: 4.0
- Managed pipeline mode: Integrated
- Process Model:
- Identity: If using a domain account to authenticate with SQL or a UNC share for filestorage, set this to your service account, otherwise set it to the built in account
ApplicationPoolIdentity. - Idle Time-out (minutes): 0
- Shutdown Time Limit: 150
- Identity: If using a domain account to authenticate with SQL or a UNC share for filestorage, set this to your service account, otherwise set it to the built in account
- Recycling
- Private Memory Limit: 1572864KB (1.5GB)
- Regular Time Interval (minutes): 0
- Generate Recycle Event Log Entry: Set all to true
- General:
- Grant Permissions
Grant the website account "Read and execute", "List Folder contents" and "Read" permissions on the directory you installed the website to in step 1.
If using ApplicationPoolIdentity, grant permissions toIIS APPPOOL\<AppPoolName>(where <AppPoolName> is the name of your application pool). You'll also need to go back and set permissions on the Database and Filestorage now the local accounts has been created.
At this point you should be able to browse to your community in your web browser. Navigate to it and open your community - this first access may take several minutes whilst it finishes installation. Once completed, you should see a screen like the following.
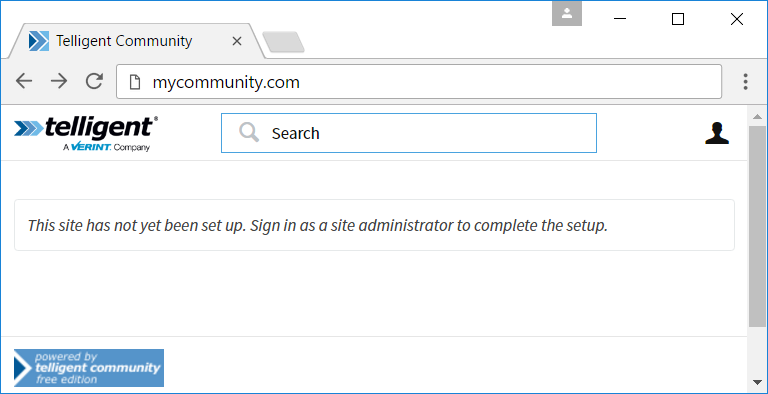
Install Job Server
.Net 4.6.2 is required on job server.
- Install the Job Server files:
Copy theJobServerfolder form the installation package to a location on the server hosting the job server (e.g.D:\Telligent\Jobs\). Do not place this folder within yourWebdirectory - Configure the Job Server:
Copy theconnectionstrings.configfile from the web server to the job server - Install the Job Server service:
Open up PowerShell as an administrator. The command to use depends on whether you are using local or domain accounts. (If you encounter any errors running these scripts, refer to the "Troubleshoting Powershell" section at the end of this article)- Local account:
Run the following command:.\Install.ps1
- Domain Account:
Run the following command. It will first prompt your for the credentials of your service account before installing the job server using those credentials..\Install.ps1 -Credential (Get-Credential)
- Local account:
- Grant Database Permissions if using local accounts with SQL Integrated Authentication
If using local accounts with SQL integrated authentication, grantNT SERVICE\TelligentCommunityJobServicethe required database rights (see Install Database step 4). After this is done, start the job serviceStart-Service TelligentCommunityJobService
Install Socket Bus
Socket Bus is only needed if you have 2 or more web servers. .Net 4.6.2 is required on the socket bus server.
- Install the Socket Bus files:
Locate theSocketMessageBusdirectory in the installation package. Copy this to a location on disk where you wish to install socket bus (e.g.d:\Telligent\SocketBus\) - Install Socket Bus Service:
Open up PowerShell as an administrator, then run.\install.bat - Start the Service:
From PowerShell, run the following commandStart-Service 'Telligent Socket Message Bus'
- Secure and Expose Socket Bus:
You MUST NOT expose socket bus over the public internet, instead use firewalls and network isolation technologies to ensure that TCP Port 9623 can only be accessed from the web and job servers. - Configure socket bus in the website
Open up your community in a web browser. Login as "temporary-admin" with the password you used when executing thecs_system_createcommunitystored procedure. In the top left of the screen is a pencil icon - click on this to open the management panel then go to Administration. In administration, use the search pane at the top right of the screen to search for "Socket Message Bus Service Connector". Set theService Host Nameto be the host name of the server running the socket bus service.
What's Next
Congratulations, you have now set up Telligent Community. You can login with the username "temporary-admin" using the password you used when creatign the database.
The first thing you should do is create a new admin user, log in as that new user and and delete the temporary admin account. Then you can get started with the "Set up your community" wizard on the homepage.
Troubleshooting PowerShell
If you get the following error, the installation package was not unblocked before you extracted it. To fix this, either unblock the zip file then re-extract the files, or run the following command
Get-ChildItem d:\Telligent\Search -Recurse | Unblock-File
.\ServiceInstall.ps1 : File d:\Telligent\Search\bin\ServiceInstall.ps1 cannot be loaded. The file
d:\Telligent\Search\bin\ServiceInstall.ps1 is not digitally signed. You cannot run this script on the current system.
For more information about running scripts and setting execution policy, see about_Execution_Policies at
http://go.microsoft.com/fwlink/?LinkID=135170.
At line:1 char:1
+ .\ServiceUninstall.ps1
+ ~~~~~~~~~~~~~~~~~~~~~~
 + CategoryInfo : SecurityError: (:) [], PSSecurityException
 + FullyQualifiedErrorId : UnauthorizedAccess
If you get the following error when running, ensure your execution policy is set to at RemoteSigned by running the following command. (This is the default value for Server 2012 R2, but may need to be configured manually on older versions)
Set-ExecutionPolicy RemoteSigned
.\ServiceInstall.ps1 : File d:\Telligent\Search\bin\ServiceInstall.ps1 cannot be loaded because running scripts is
disabled on this system. For more information, see about_Execution_Policies at
http://go.microsoft.com/fwlink/?LinkID=135170.
At line:1 char:1
+ .\ServiceInstall.ps1
+ ~~~~~~~~~~~~~~~~~~~~
+ CategoryInfo : SecurityError: (:) [], PSSecurityException
+ FullyQualifiedErrorId : UnauthorizedAccess